


As a supplier of Long Stroke 2-jaw Parallel Grippers, I often get asked about how to set the gripping position of these handy tools. It's a crucial aspect that can significantly impact the performance and efficiency of your operations. So, let's dive right in and explore the ins and outs of setting the gripping position for a Long Stroke 2-jaw Parallel Gripper.
Understanding the Basics
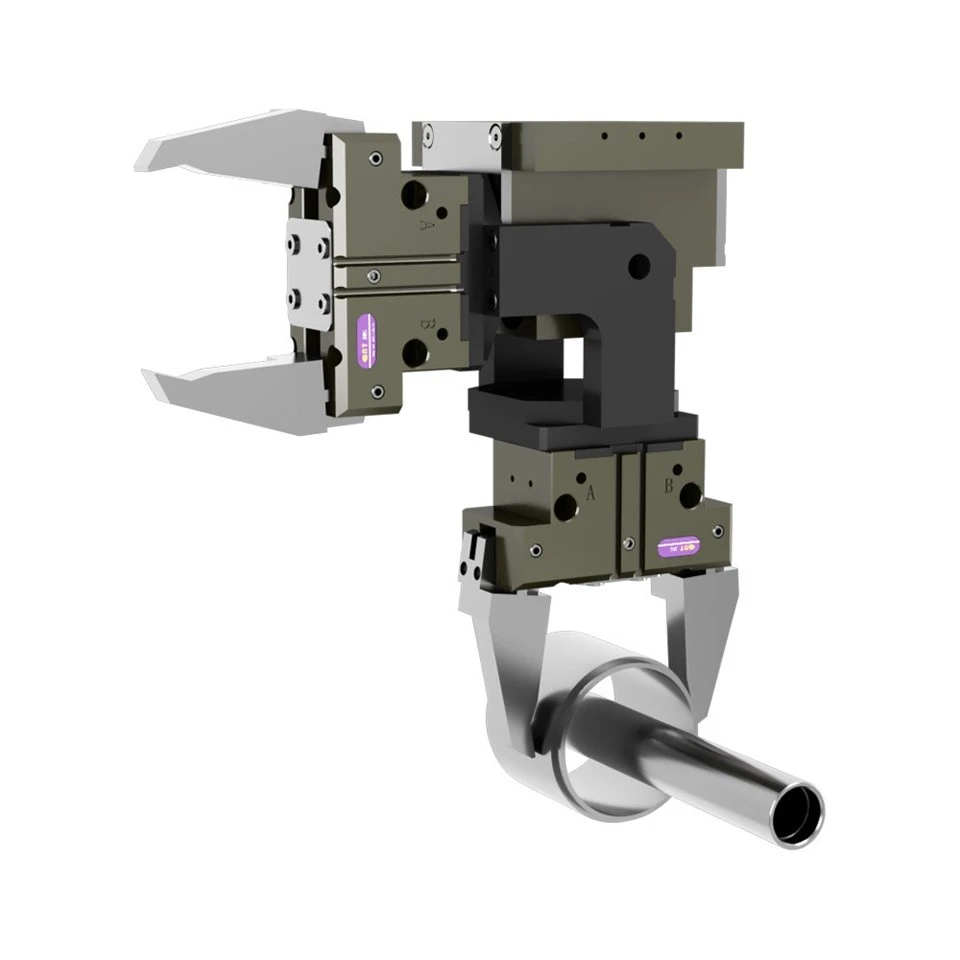
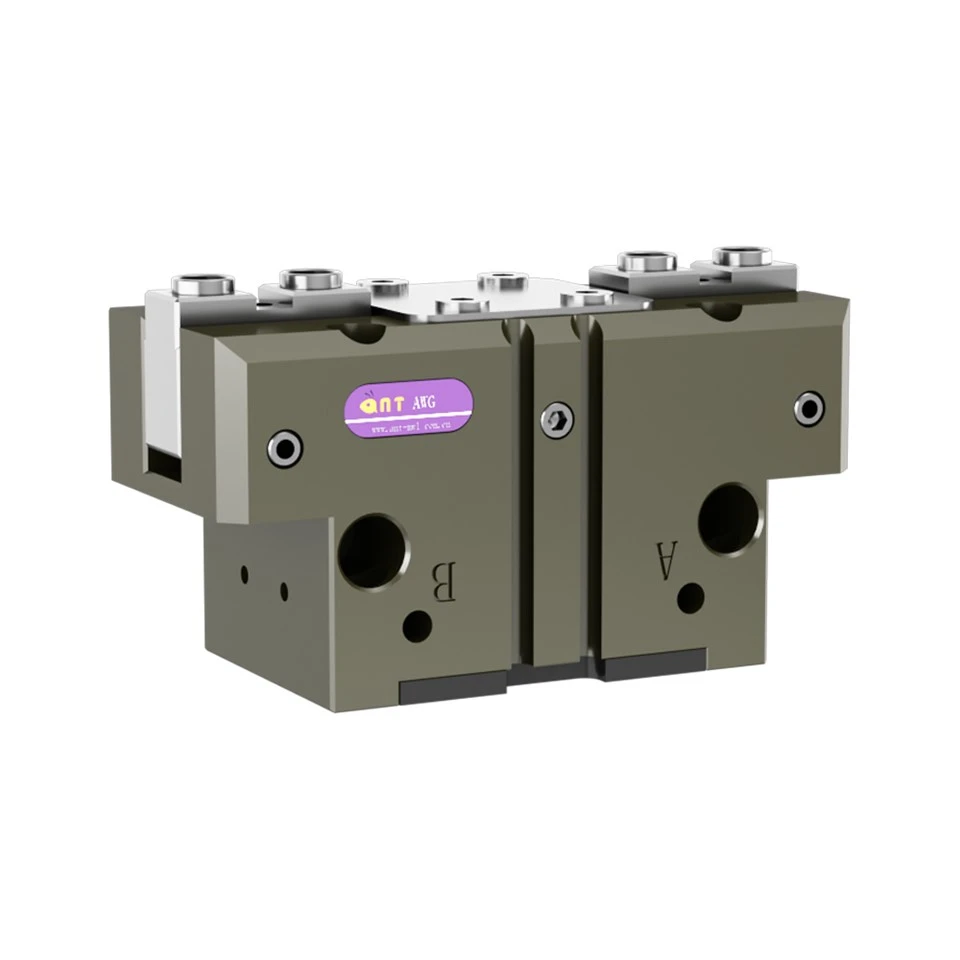
First off, let's quickly go over what a Long Stroke 2-jaw Parallel Gripper is. It's a type of robotic gripper that uses two jaws to hold objects. The "long stroke" part means that the jaws can open and close over a relatively large distance compared to other grippers. This makes it great for handling a wide range of object sizes.
Now, why is setting the gripping position so important? Well, if the gripping position isn't right, you might end up dropping the object, damaging it, or not being able to pick it up at all. It can also affect the overall stability of the gripper and the accuracy of your robotic system.
Factors to Consider
Before you start setting the gripping position, there are a few factors you need to take into account.
Object Size and Shape
The size and shape of the object you're going to grip are probably the most important factors. You need to make sure that the jaws of the gripper can fully enclose the object without applying too much or too little pressure. For example, if you're gripping a small, delicate object, you'll need to set the jaws closer together and use a lighter gripping force. On the other hand, if you're handling a large, heavy object, you'll need to open the jaws wider and use a stronger force.
Material of the Object
The material of the object also matters. Some materials, like glass or plastic, are more fragile and require a gentler touch. Others, like metal or wood, can withstand more pressure. You'll need to adjust the gripping position and force accordingly to avoid damaging the object.
Gripping Surface
The surface of the object that you're going to grip is another important consideration. If the surface is smooth, you might need to use a different gripping technique or a gripper with a special surface coating to prevent the object from slipping. If the surface is rough or textured, you might be able to get a better grip with a standard gripper.
Steps to Set the Gripping Position
Now that you've considered all the factors, it's time to start setting the gripping position. Here are the general steps you can follow:
Step 1: Measure the Object
Use a measuring tool, like a caliper or a ruler, to measure the size of the object. This will give you an idea of how wide the jaws of the gripper need to be opened. Make sure to measure the object at its widest point to ensure a proper fit.
Step 2: Adjust the Jaw Width
Most Long Stroke 2-jaw Parallel Grippers have an adjustable jaw width. Use the control mechanism on the gripper to open or close the jaws to the appropriate width based on your measurements. Some grippers might have a manual adjustment knob, while others might be controlled electronically.
Step 3: Position the Gripper
Once the jaw width is set, position the gripper over the object. Make sure that the jaws are centered over the object and that they are parallel to the gripping surface. You might need to use a robotic arm or a positioning system to accurately position the gripper.
Step 4: Test the Grip
Before you start using the gripper in your actual application, it's a good idea to test the grip. Slowly close the jaws of the gripper until they make contact with the object. Apply a gentle force and check if the object is securely held. If the object is slipping or if the grip seems too tight, you might need to adjust the jaw width or the gripping force.
Step 5: Fine-Tune the Position
If necessary, fine-tune the gripping position by making small adjustments to the jaw width or the position of the gripper. You might also need to adjust the gripping force based on the results of your test. Keep testing the grip until you're satisfied with the performance.
Tips and Tricks
Here are some additional tips and tricks to help you set the gripping position more effectively:
Use a Vision System
A vision system can be a great tool for setting the gripping position. It can help you accurately measure the size and position of the object, as well as detect any irregularities or defects. This can make it easier to adjust the gripper and ensure a proper grip.
Consider Using Different Gripping Techniques
Depending on the object and the application, you might need to use different gripping techniques. For example, you might use a pinch grip, a wrap grip, or a suction grip. Experiment with different techniques to find the one that works best for your needs.
Keep the Gripper Clean and Maintained
A clean and well-maintained gripper will perform better and last longer. Make sure to regularly clean the jaws of the gripper and lubricate any moving parts. This will help prevent wear and tear and ensure a smooth operation.
Related Products
If you're interested in other types of grippers, we also offer a variety of options, including the 3-jaw Concentric Gripper, the Two-finger Parallel Mechanical Gripper, and the 2-finger Angular End Effector. These grippers have different features and capabilities, so you can choose the one that best suits your application.
Conclusion
Setting the gripping position of a Long Stroke 2-jaw Parallel Gripper is an important task that requires careful consideration and attention to detail. By taking into account the factors we discussed, following the steps outlined, and using the tips and tricks provided, you can ensure a proper grip and improve the performance of your robotic system.
If you have any questions or if you're interested in purchasing a Long Stroke 2-jaw Parallel Gripper or any of our other products, please don't hesitate to contact us. We're here to help you find the right solution for your needs.
References
- Robotics Handbook, Second Edition by Thomas R. Kurfess
- Industrial Robotics: Theory, Modelling and Control by Bruno Siciliano and Oussama Khatib


