


As a supplier of Cam Roller Hollow Rotary Tables, I'm often asked about the installation process of a coupling for these precision devices. In this blog, I'll provide a detailed guide on how to install a coupling for a Cam Roller Hollow Rotary Table, ensuring that you can achieve optimal performance and reliability.
Understanding the Cam Roller Hollow Rotary Table
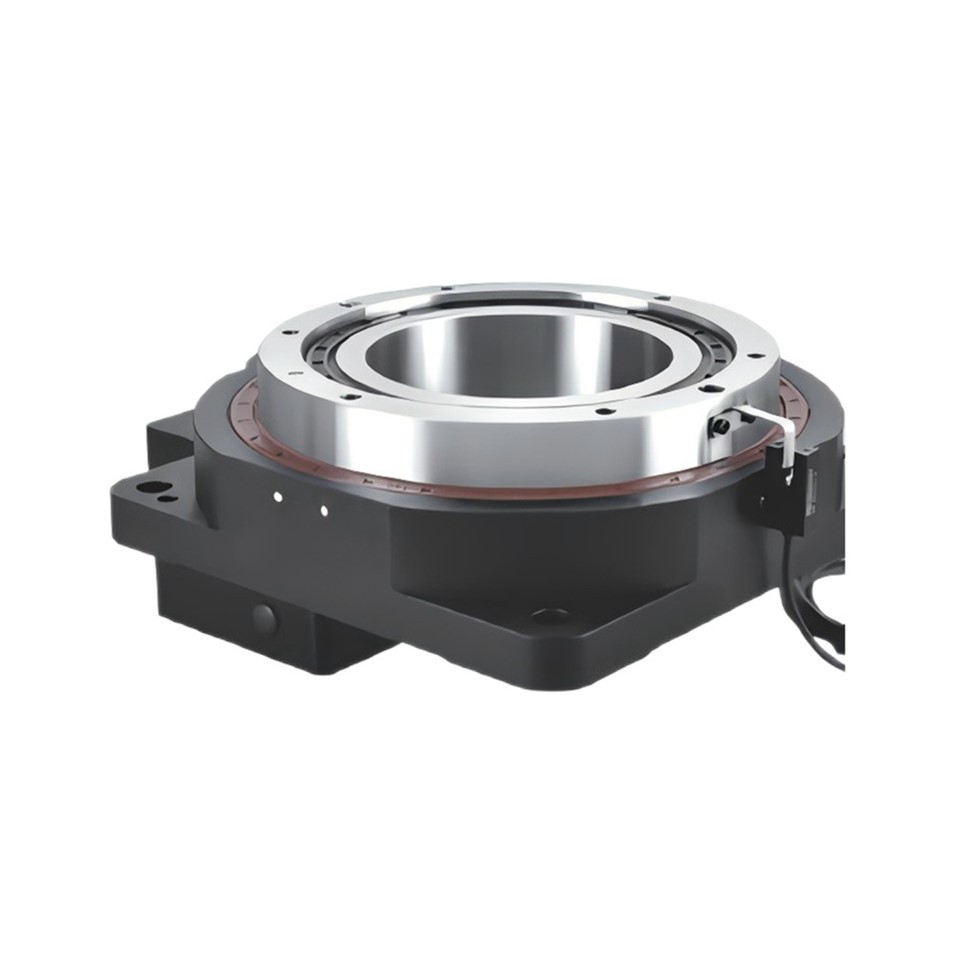
Before we dive into the installation process, let's briefly understand what a Cam Roller Hollow Rotary Table is. A Cam Roller Hollow Rotary Table is a high - precision rotary device commonly used in automation, CNC machining, and other industrial applications. It features a hollow center, which allows for the passage of cables, pipes, or other components, and uses cam rollers to achieve smooth and accurate rotation.
Importance of a Properly Installed Coupling
A coupling is a crucial component that connects the motor shaft to the input shaft of the Cam Roller Hollow Rotary Table. A properly installed coupling ensures efficient power transmission, reduces vibration, and minimizes wear and tear on both the motor and the rotary table. Incorrect installation can lead to misalignment, increased noise, and premature failure of the components.
Tools and Materials Required
- Coupling: Make sure to select a coupling that is compatible with the motor shaft and the input shaft of the Cam Roller Hollow Rotary Table. Consider factors such as torque capacity, misalignment tolerance, and operating speed.
- Wrenches and Screwdrivers: You'll need a set of wrenches and screwdrivers appropriate for the size of the coupling and the mounting bolts.
- Alignment Tools: Tools like dial indicators or laser alignment systems can be used to ensure proper alignment between the motor and the rotary table.
- Cleaning Supplies: Use a clean cloth and a suitable cleaning solvent to remove any dirt, debris, or grease from the shafts and the coupling.
Step - by - Step Installation Guide
Step 1: Preparation
- Inspect the Components: Carefully inspect the Cam Roller Hollow Rotary Table, the motor, and the coupling for any signs of damage or defects. Check the shaft diameters, keyways, and mounting holes to ensure they are in good condition.
- Clean the Shafts: Clean the motor shaft and the input shaft of the rotary table using a clean cloth and a cleaning solvent. Remove any rust, burrs, or debris that could affect the fit of the coupling.
Step 2: Mount the Coupling on the Motor Shaft
- Select the Correct Side: Some couplings are designed with a specific orientation. Make sure to identify the correct side of the coupling for mounting on the motor shaft.
- Slide the Coupling onto the Shaft: Gently slide the coupling onto the motor shaft until it is fully seated. If the coupling has a keyway, align it with the key on the shaft.
- Tighten the Set Screws or Clamping Mechanism: Use the appropriate wrench to tighten the set screws or the clamping mechanism on the coupling. Make sure to tighten them evenly to avoid over - tightening on one side.
Step 3: Mount the Rotary Table
- Position the Rotary Table: Place the Cam Roller Hollow Rotary Table in its intended location and secure it using the mounting bolts. Make sure the table is level and properly aligned with the motor.
- Connect the Power and Control Cables: If applicable, connect the power and control cables to the motor and the rotary table according to the manufacturer's instructions.
Step 4: Align the Motor and the Rotary Table
- Use Alignment Tools: Use a dial indicator or a laser alignment system to check the alignment between the motor shaft and the input shaft of the rotary table. The goal is to achieve both angular and parallel alignment within the specified tolerance of the coupling.
- Adjust the Motor Position: If the alignment is off, adjust the position of the motor by loosening the mounting bolts and moving the motor slightly. Re - check the alignment after each adjustment until it meets the requirements.
Step 5: Connect the Coupling to the Rotary Table
- Slide the Coupling onto the Input Shaft: Once the alignment is correct, slide the other end of the coupling onto the input shaft of the rotary table. Make sure it is fully seated and the keyway is aligned with the key on the shaft.
- Tighten the Set Screws or Clamping Mechanism: Use the appropriate wrench to tighten the set screws or the clamping mechanism on the coupling to secure it to the input shaft.
Step 6: Final Checks
- Check the Tightness: Re - check the tightness of all the set screws, clamping mechanisms, and mounting bolts to ensure they are properly tightened.
- Rotate the Shafts: Manually rotate the motor shaft and the input shaft of the rotary table to check for smooth operation. There should be no binding or excessive resistance.
Other Types of Hollow Rotary Tables
In addition to the Cam Roller Hollow Rotary Table, we also offer Reinforced Hollow Rotary Table and Standard Hollow Rotary Table. These products are designed to meet different application requirements, providing customers with a wide range of choices.
Conclusion
Installing a coupling for a Cam Roller Hollow Rotary Table requires careful preparation, proper alignment, and attention to detail. By following the steps outlined in this guide, you can ensure a successful installation and achieve optimal performance of your rotary table.
If you have any questions about the installation process or are interested in purchasing a Cam Roller Hollow Rotary Table or other related products, please feel free to contact us for more information and to discuss your specific needs. We are committed to providing high - quality products and excellent customer service.

References
- Manufacturer's installation manuals for Cam Roller Hollow Rotary Tables and couplings.
- Industrial machinery installation and maintenance textbooks.


